 Drape Haus
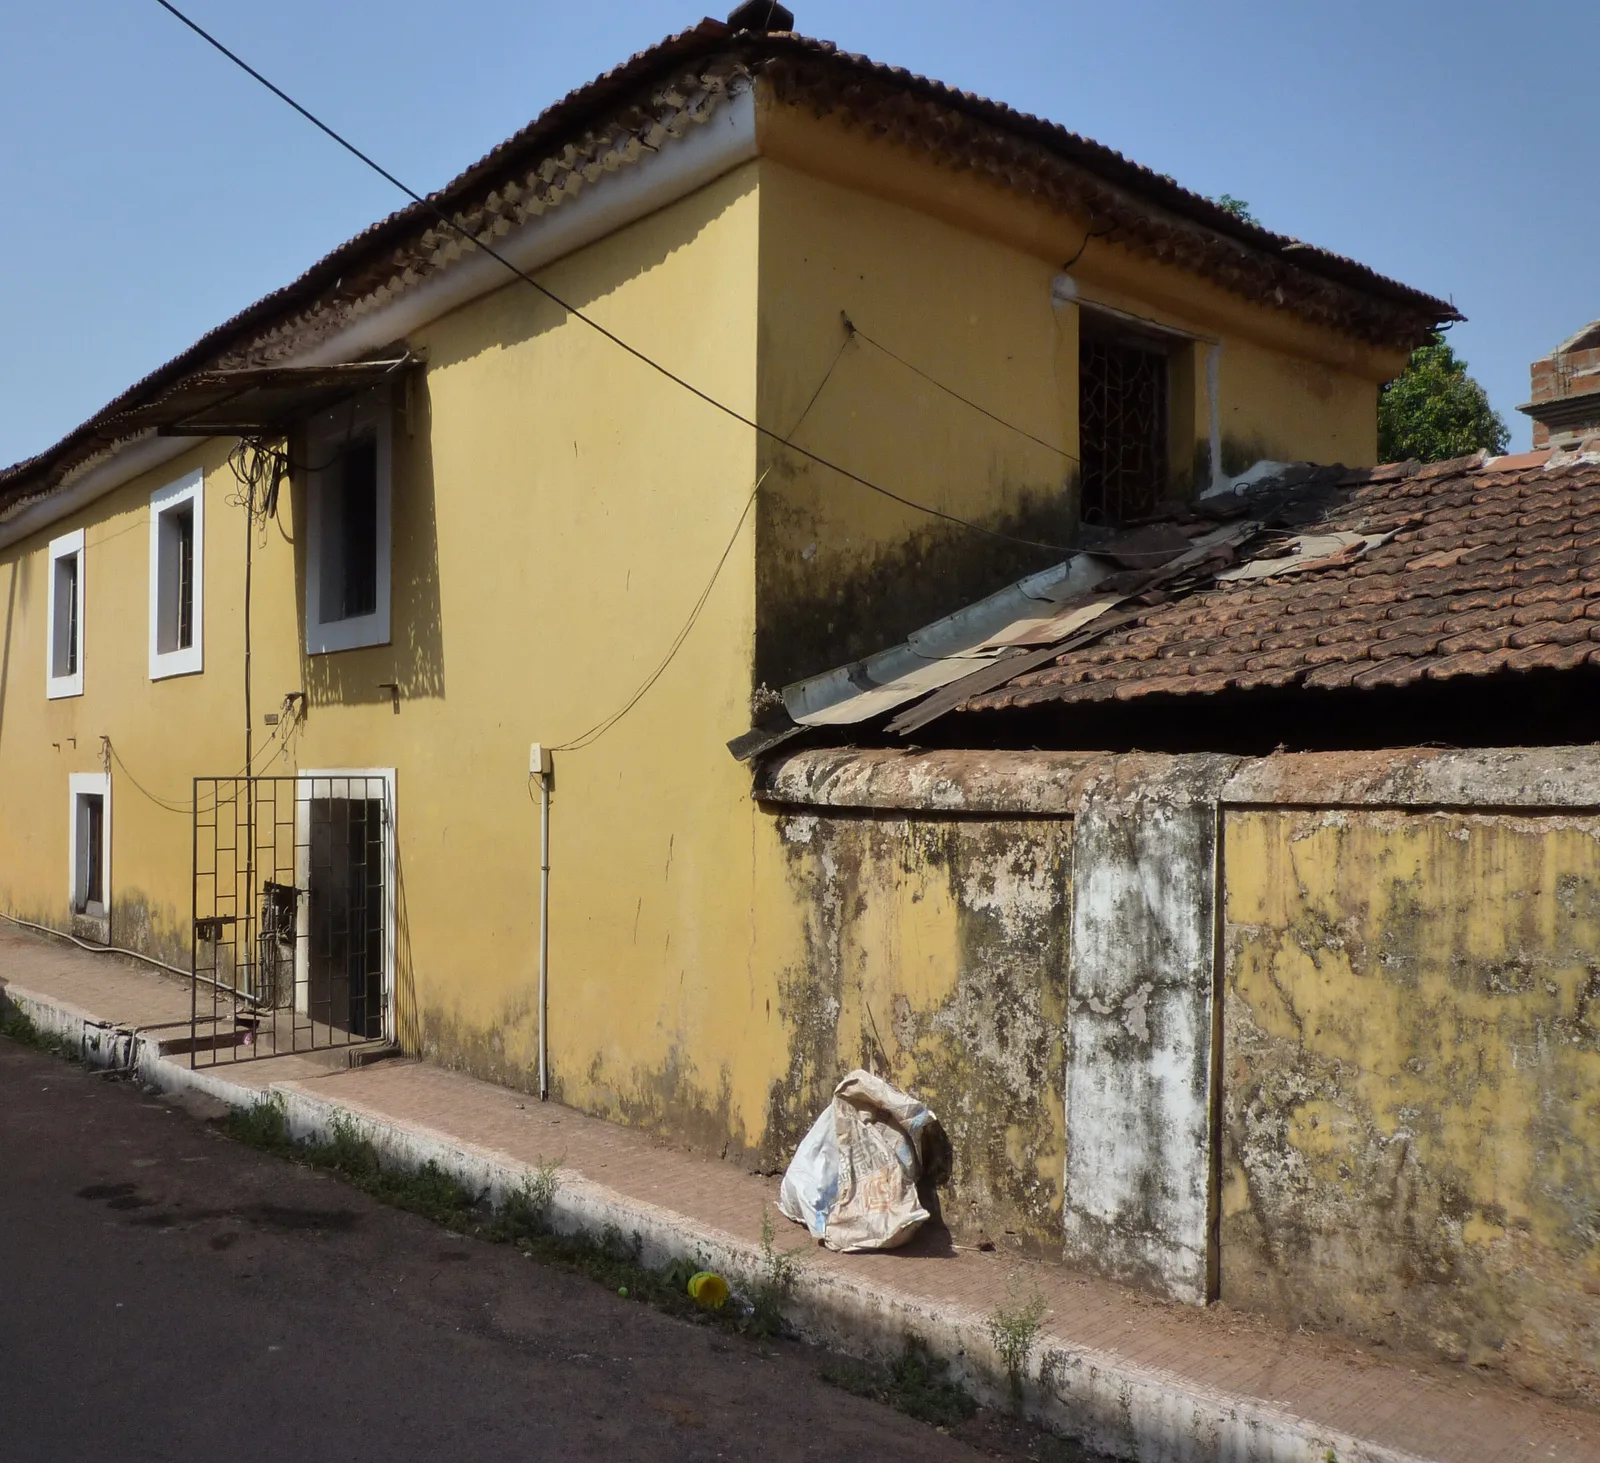
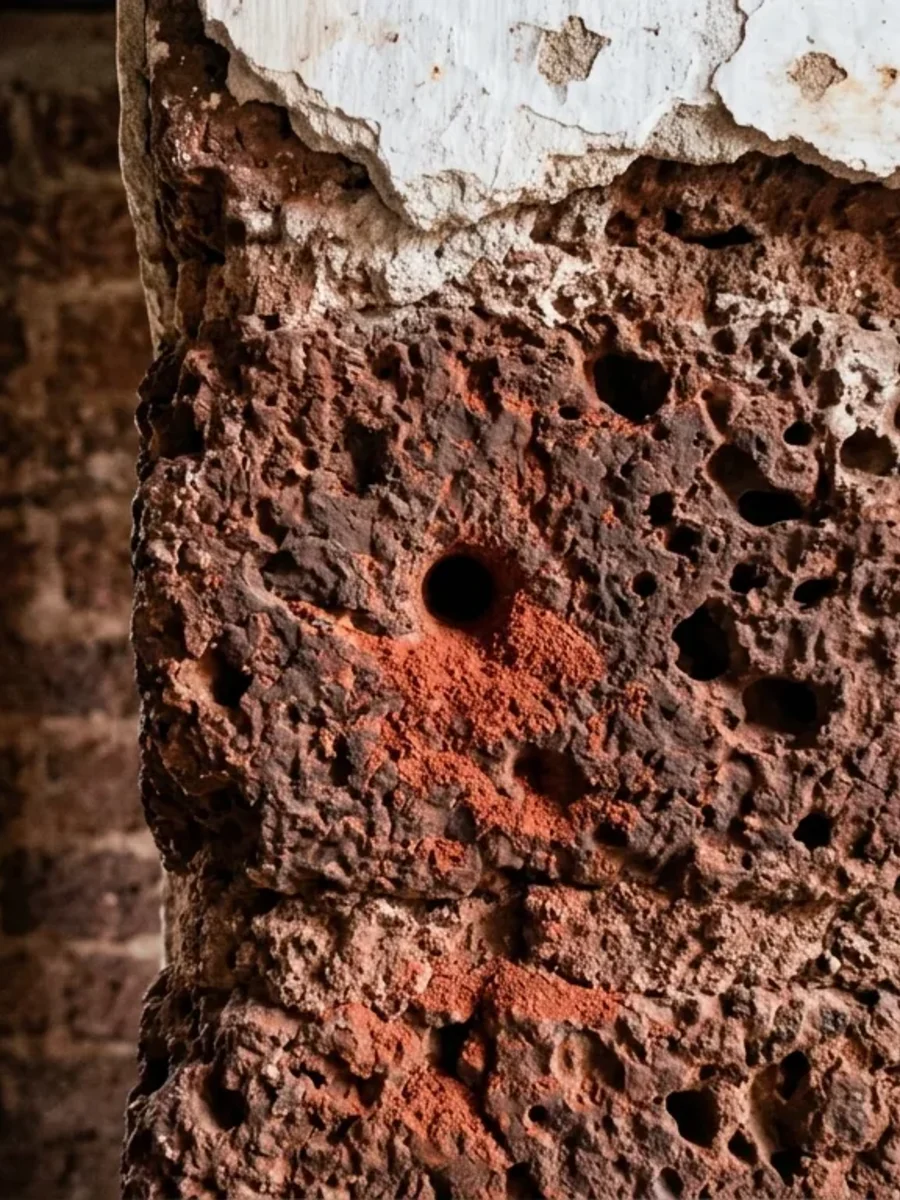
Lime plaster is a wall finish made from lime, sand, water and sometimes fibre, which hardens slowly by absorbing carbon dioxide from the air. Limewash is the same lime thinned to the consistency of milk and brushed on as paint. Both stay porous after they set, which is why they suit Goa's laterite houses: a lime-finished wall can take on water in the monsoon and dry out again in the months that follow.
Our guide to living in a laterite house explains why cement render and plastic paint trap moisture in those walls. This article is the practical sequel. It covers what lime is and how it sets, how cement is taken off an old wall, how lime is sourced and handled safely, how plaster and limewash are applied and cured around the Goan weather, how colour is added and how it weathers, and how to fix curtains and rails to a lime wall once it is done.
We are soft-furnishing makers, not plasterers. Lime work on an old house is a craft, and on any wall that matters it should be done by people experienced in it, under a conservation architect where the house warrants one. What follows is meant to help owners understand the work, ask the right questions and look after the result.
What lime plaster is, and how it sets
Lime starts as calcium carbonate: limestone, chalk or shell. Burnt in a kiln it becomes quicklime, calcium oxide. Add water, a process called slaking, and it turns into calcium hydroxide, which can be kept as a soft, wet lime putty. Spread on a wall as plaster or limewash, the lime slowly takes carbon dioxide back from the air and turns into calcium carbonate again. The Building Conservation Directory describes the result as crystals of calcite, which give limewashed walls their characteristic soft glow.
Shell lime has a long history on coasts. The US National Park Service's guidance on historic plaster notes that lime came from heated limestone or oyster shells, and that traditional plaster combined lime, sand, animal hair as fibre, and water. In Goa, a heritage practitioner interviewed by O Heraldo in 2026 described seashells burnt in a kiln at around 1,200°C, slaked, and aged in pits for several weeks before being mixed with sharp sand and organic additives. A feature in The Goan on the craftsmen behind Goa's heritage adds that artisans blended lime with boiled jaggery, river sand and plant fibres.
Plaster was traditionally built up in layers. The Park Service describes three-coat work: a scratch coat and a brown coat of coarse lime and sand, each roughly 9 mm thick, and a thin finishing coat of about 3 mm, made with more lime and little sand, for a smooth surface. Laterite walls are uneven, so the base coats also do the work of evening out the stone.
Why lime suits laterite and cement does not
The Society for the Protection of Ancient Buildings puts the principle simply. Modern buildings depend on an impervious outer layer to keep moisture out; old buildings rely on their permeable nature to let absorbed water evaporate back out. A cement render is more rigid than the wall behind it, develops hairline cracks, draws water in through them and then restricts its escape. Lime is weaker and more permeable, so it moves with the wall and lets it dry.
The difference shows in how each fails. SPAB notes that cement renders often fail in patches and come away from the wall, whereas lime renders erode back gradually and evenly. The same is true of finishes: limewash has a vapour permeability of about 350 units in the tests cited by the Building Conservation Directory, while many masonry paints come in below 75. SPAB advises that standard modern paints and colourless water repellents on old walls risk trapping moisture.
Goa adds its own pressure. The India Meteorological Department records morning humidity of 87 to 91% from June to September. A laterite wall cannot avoid taking on moisture through those months, so everything depends on letting it dry from November onwards. Lime lets it; cement and plastic paint stop it.
Lime is meant to wear back slowly. A lime finish that needs renewing every few years is working; a cement one that never needs touching is often hiding damp.
Planning something like this?
We visit homes across North and South Goa, measure on site, and bring samples to see in your own light.
Taking cement off an old wall first
Most old Goan walls that are damp today were patched or fully rendered in cement at some point. SPAB's advice is measured: removal is ideal but can itself damage the wall, so try a small trial area first. Where cement is well bonded and the wall behind is dry, it may be best left; sometimes a compromise works, such as removing it only from the base of the wall or from hollow-sounding patches. Cement can be worked off with a hammer and chisel with great care, but levering off large sheets can tear away the soft material behind.
Goan practice follows the same line. The practitioner interviewed by O Heraldo described removing cement by hand rather than with aggressive tools, because the laterite underneath is soft and often already weakened, then filling losses and recesses with burnt brick and clay tile before replastering. Crucially, the wall is left to dry completely before lime goes on.
Drying takes time and should not be rushed. SPAB advises delaying re-rendering until a saturated wall has dried out, and warns that a wall that has been under cement for years will hold salts. Fresh lime can act like a poultice and draw them out, so some localised failure and a small amount of re-plastering after a couple of years should be expected rather than treated as a defect. That is one more reason to finish the source of the damp, such as the roof, gutters and ground levels, before the walls. Our guide to repairing a Mangalore tile roof covers the first of those.
Sourcing lime in Goa and handling it safely
Lime comes in a few forms. Quicklime is the burnt material before slaking. Lime putty is slaked lime kept wet, which Historic Environment Scotland's guidance notes improves with age and can be stored indefinitely under a layer of water. Dry bagged hydrated lime is the most widely sold form; in India building limes are covered by their own Indian Standard, IS 712. Natural hydraulic limes set partly by reaction with water and are harder; SPAB suggests a natural hydraulic lime or a lime with a pozzolan where a faster set is needed, but warns against strong hydraulic limes on old walls.
Traditional shell lime is harder to find than it was. The O Heraldo interview described a shortage of craftsmen familiar with the technique, and The Goan's feature describes the lime-burner's skills as fading. Ask any plasterer you consider where their lime comes from, how long it has matured, and whether they will make trial panels on a hidden part of the wall first, as the Scottish guidance recommends.
Lime is caustic, and quicklime is dangerous. The same guidance says lime irritates eyes and skin, that slaking quicklime and mixing dry lime should be done in a well-ventilated area, that hot-mixing with quicklime can reach temperatures of around 300°C, and that gloves, masks and goggles must be worn for all lime work. The Building Conservation Directory adds that lime in the eyes can cause pain and impaired vision if not treated immediately. Keep children and pets away from the mixing area, keep clean water at hand for rinsing, and store quicklime dry and sealed.
Applying and curing lime plaster around the Goan weather
Preparation decides most outcomes. The Scottish guidance says to remove loose and decayed material, brush and wash the wall, and dampen porous masonry so it is damp but not saturated, which stops the wall sucking water out of the fresh lime. Each coat should take an initial set before the next goes on, which may take from a few hours to a day, but it advises against waiting for a full cure between coats. Between coats the surface is scratched or keyed so the next one grips.
Lime then has to be nursed. Air limes need repeated cycles of light wetting and partial drying to carbonate; in warm weather they take an initial set in hours and a partial cure in 24 to 48 hours, and usually need two or three wetting cycles. Fresh work should be covered with damp hessian or sheeting in warm or windy conditions, and protected from rain, which washes out lime and leaves a bloom on the surface. Carbonation needs air, so coverings must not seal the wall.
In Goa, that defines the season. The monsoon is no time for external lime work: the rain will wash it out and the humidity will slow carbonation to a crawl. The dry months from November to April are the window, with the caveat that April and May sun on a west wall can dry fresh lime too fast, so shade and damp hessian matter more then. Pre-monsoon thunderstorms can arrive in May. Interior walls are more forgiving, but the house must be ventilated while lime cures.
Patience after that is a virtue. The Park Service records that historically lime plasters were left to cure for at least a year before walls were painted or papered. Limewash is the exception, because it is lime itself and goes onto lime happily once the plaster has set.
Colour, limewash and how it weathers over the monsoons
Coloured limewash is limewash with pigment added, and the Building Conservation Directory's advice is to use earth pigments such as red and yellow ochres, which resist fading in sunlight and do not react with lime, and to soak them for at least 24 hours before mixing them in. Goa has a red pigment of its own: kaavi wall art, as the Question of Cities essay describes, uses iron-oxide-rich laterite soil as a pigment over lime plaster.
Colour in limewash behaves differently from paint. It dries many shades lighter than it looks wet, so test patches must be left to dry before a colour is chosen, and it is almost impossible to match a later batch exactly, so mix enough for the whole wall at once. Additives change its behaviour: raw linseed oil can make limewash shed water droplets while staying vapour permeable, but the same source warns that tallow, a traditional additive, is unsuitable indoors because it turns rancid in warm weather.
Limewash is sacrificial by design. It protects the plaster by wearing away itself, slowly, and in Goa that means chalking on exposed walls and some loss of colour after a few monsoons, most on the walls that take the rain. That is not a failure. The answer is a fresh coat over the old one in the dry season, which is simple work compared with stripping and repainting a blistered plastic finish. Colour on old Goan facades has its own history, covered in why Goan houses are colourful.
Hanging curtains and fixing hardware on lime walls
Lime plaster over laterite is a soft substrate for fixings. Standard plastic plugs grip poorly in it and work loose under the daily pull of a curtain, which is why our guide to fixing into laterite and old walls recommends resin anchors into sound stone behind the plaster, more brackets than the span strictly needs, or fixing into the timber window frame or the ceiling instead. In a room with a wooden ceiling, a ceiling curtain track avoids drilling the wall at all.
Timing matters too. Do not drill fresh plaster before it has set properly, and plan bracket positions before the final coats so any patching around a fixing is done in the same lime and can be limewashed with the rest. Never drill through kaavi or other decorative plasterwork.
Fabric and lime get on well if they are given a little distance. Curtains should hang clear of the wall so air can move behind them, especially on external walls in the monsoon, and breathable linen curtains or cotton suit lime walls better than heavily coated fabrics. Limewash can chalk onto fabric that rubs against it, so leave a gap between tie-backs and the wall. When the walls are finished and dry, we can measure and fit curtains that suit the house.
How to limewash a lime-plastered wall
For renewing limewash on sound lime plaster in the dry season. Wear goggles and gloves throughout, and test a hidden patch first.
Pick the weather
Choose a run of dry days between November and April, avoiding hot afternoon sun on west walls. Fresh limewash outside is vulnerable to rain, which washes out colour and leaves white streaks.
Prepare the wall
Brush off loose and flaking material and wash the surface down with a soft scrubbing brush. Remove any plastic paint patches, which limewash will not bond to.
Mix thin
Dilute matured lime putty with water to the consistency of milk. Soak earth pigments for at least 24 hours before adding them, and mix enough for the whole wall in one batch.
Dampen the surface
Wet the wall with clean water and wait until it is damp but not running wet, so it does not draw water out of the limewash too fast.
Scrub it in
Apply thinly with a brush stiffer than a paintbrush, working the limewash into the surface in circular strokes and finishing with vertical strokes. Thin coats carbonate better and are less likely to craze.
Protect and wait
Shade fresh work from strong sun and keep it from rain. Limewash cures slowly in humid air; leave several days, ideally at least five, before the next coat.
Build up the coats
Apply further thin coats in the same way. For new work, the Building Conservation Directory recommends at least three. Judge the final colour only once it is fully dry.