 Drape Haus
Antique furniture restoration goes wrong most often in the first afternoon. Someone takes sandpaper to a dull table top, drives a screw into a loose chair joint, or brushes varnish over a cabinet that was French polished a century ago. Each of those feels like care. Each removes something that cannot be put back.
The safer approach for a Goan piece is to work in a fixed order: find out what it is and what condition it is in, stop any insect attack, stabilise what is loose, clean the surface gently, and only then decide whether the finish, the cane or the upholstery needs more. The Canadian Conservation Institute is plain about the biggest temptation: stripping wooden furniture is not recommended, because original finishes are part of the historical value of a piece.
This guide sets out that order, marks clearly which steps a careful owner can take and which belong with a furniture conservator or experienced restorer, and covers the part we do ourselves: recovering the seats and backs of old chairs and settees. For the history and the names of the pieces, start with our field guide to Goan furniture.
Restore, conserve or leave alone: decide first
Three different jobs hide under the word restoration. Conservation aims to stabilise a piece and slow its decay while changing as little as possible, and to do it with methods that a later specialist can undo. Restoration goes further and brings a piece back towards how it once looked, which usually means replacing lost parts and renewing finishes. Refurbishment treats the object as a working chair or table first and an antique second.
All three are legitimate, but they suit different pieces. A contador, a crested chair or a cabinet with inlay is worth conserving. A sturdy twentieth-century dining chair that the family uses every day can reasonably be refurbished. The mistake is treating the first kind like the second. The Canadian Conservation Institute advises that furniture needing extensive repair or cleaning should be referred to a conservator, and that cleaning degraded natural resin coatings should always be left to an experienced one.
Before deciding, photograph the piece from every side, including underneath and inside, and write down what you know of its history. Those photographs become the record of what was original if work is done later, and they make a specialist's first assessment far more useful.
Ask of every step: could someone undo this in fifty years without damaging the piece? If not, it is a decision for a specialist.
Assess the piece before touching it
Work through the piece slowly in good daylight, with a torch held low across the surfaces. Check every leg and rail by hand for movement, open each drawer and door, look at the back panel and underside, and press gently on any raised veneer or inlay. You are looking for five things: live insects, loose structure, lifting surfaces, a damaged finish and earlier repairs that are causing harm.
Earlier repairs deserve as much attention as damage. Many Goan pieces have been mended several times, sometimes with iron nails, screws through joints, metal angle plates, thick modern varnish or synthetic glue. Some of those repairs are sound and better left alone. Others, such as a screw that has split a rail or a plate that stops a joint moving with the seasons, are doing harm and need a specialist to reverse them carefully.
The table below is a guide to what common signs usually mean. It is not a diagnosis; when in doubt, treat the sign as the more serious possibility.
| What you see | What it often means | Who should handle it |
|---|---|---|
| Small round holes with fresh pale powder below | Wood-boring beetle activity, possibly still live | Isolate first; conservator or licensed pest professional |
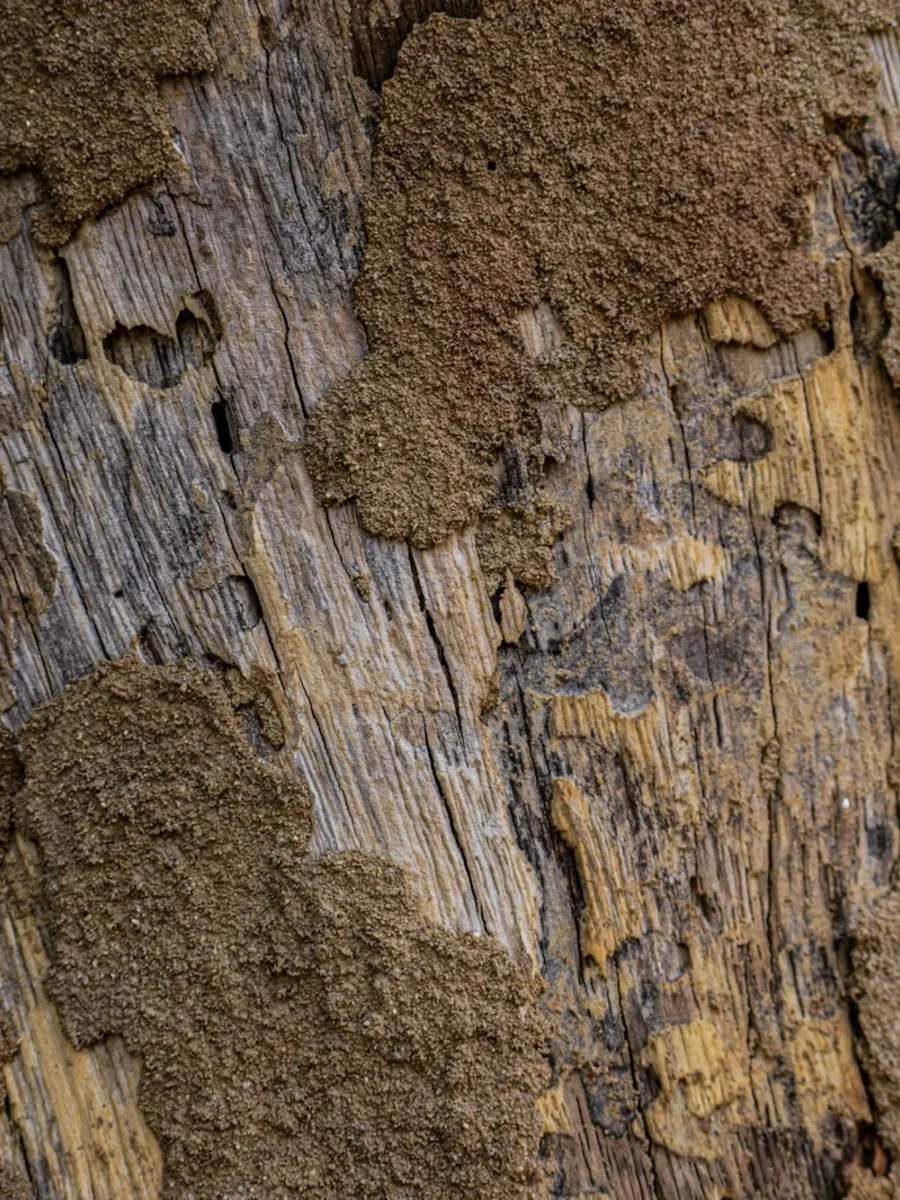
| Mud tubes, hollow-sounding wood, soft crumbling feet | Termites, or decay from standing on damp floors | Licensed pest professional, then a restorer |
| A chair that racks or a leg that moves | Failed glue in a joint | Owner can stop using it; regluing is restorer's work |
| Veneer or inlay lifting, bubbling or missing | Glue failure, often from humidity swings | Keep every fragment; restorer or conservator |
| Milky haze or white patches in the finish | Moisture trapped in a shellac or lacquer finish (bloom) | French polisher or restorer |
| Screws, nails or metal plates through joints | Earlier repair, sometimes causing splits | Restorer, if it is causing harm |
Planning something like this?
We visit homes across North and South Goa, measure on site, and bring samples to see in your own light.
Borer and termites come before anything cosmetic
There is no point in reviving a finish on a piece that insects are still eating. Powderpost beetles are the commonest culprit in old hardwood furniture. Penn State Extension describes the sign: numerous small holes about 1/16 to 1/8 inch across, roughly 1.5 to 3 mm, with a fine, powder-like dust in or below the wood. The holes are where adult beetles have left; the larvae that made the powder may still be inside. Old furniture and wood antiques, the same source notes, are especially vulnerable.
Old holes are not proof of a live attack. To check, vacuum or brush away all the powder, put clean dark paper under the piece and look again over the following weeks. Fresh, pale powder on the paper means activity. The Canadian Conservation Institute's advice for infested furniture is to isolate it, wrap it in plastic and consult a conservator, which keeps beetles from spreading to other pieces while you decide.
Treatment options depend on the piece. The Institute's practical low-temperature treatment is −20°C for one week, with the object sealed in clear polyethylene first and left in its bag for a day afterwards so that condensation forms on the outside of the bag, not on the wood. It warns that some materials, such as oil paint films and some plastics, should not be cooled. Small pieces can sometimes be treated this way; a large almirah cannot. Penn State notes that fumigation by licensed operators kills all stages but leaves no protection against future attack, and that borate surface sprays do not work on wood that has been varnished, waxed or otherwise sealed, which describes most good furniture.
Termites are a different problem and usually come from the building rather than the piece. Our guide to termites in wooden furniture covers the signs and why treatment is for a licensed professional. We are not pest-control specialists, and neither restoration nor upholstery should start until the insect question is settled.
Loose joints, lifting veneer and old repairs
A loose joint is the most common structural fault in an old chair, and the most commonly botched. The quick fixes, a screw through the joint, a nail, or a squeeze of modern wood glue into the gap, either split the timber or make the next proper repair harder. Traditional furniture was assembled with animal glues, and a review of conservation adhesives in The Building Conservation Directory notes that hide glues are both immensely strong and reversible when in contact with moisture. That reversibility is why a restorer can take an old joint apart, clean it and reglue it without losing original wood.
Until a restorer can do that, stop using the chair. A joint that racks every time someone sits will wear the tenon and the mortice, and a repair that could have been simple becomes a rebuild. For tables and cabinets, avoid lifting by the top; the Canadian Conservation Institute advises checking for loose joints before moving furniture and lifting it by its strongest point, such as the apron or legs.
Lifting veneer and inlay need care because they are the parts most sensitive to humidity. The Institute lists wood assemblies with inlays of metal, horn or shell spanning more than about 1 cm across the grain among the most vulnerable to relative humidity swings, and veneered pieces are close behind. If a piece of veneer or inlay comes away, keep it in a labelled envelope. Do not press it back with instant glue or tape; both stain and complicate the repair.
Reviving an old French polish instead of stripping it
Many older Goan pieces carry a French polish, which the Canadian Conservation Institute describes as multiple layers of shellac rubbed onto the surface with a wadded cloth. A dull, dirty French polish is usually still there under the grime, and it is part of what makes the piece look its age. Stripping it to bare wood and revarnishing produces a flat, new-looking surface and destroys evidence of the piece's history.
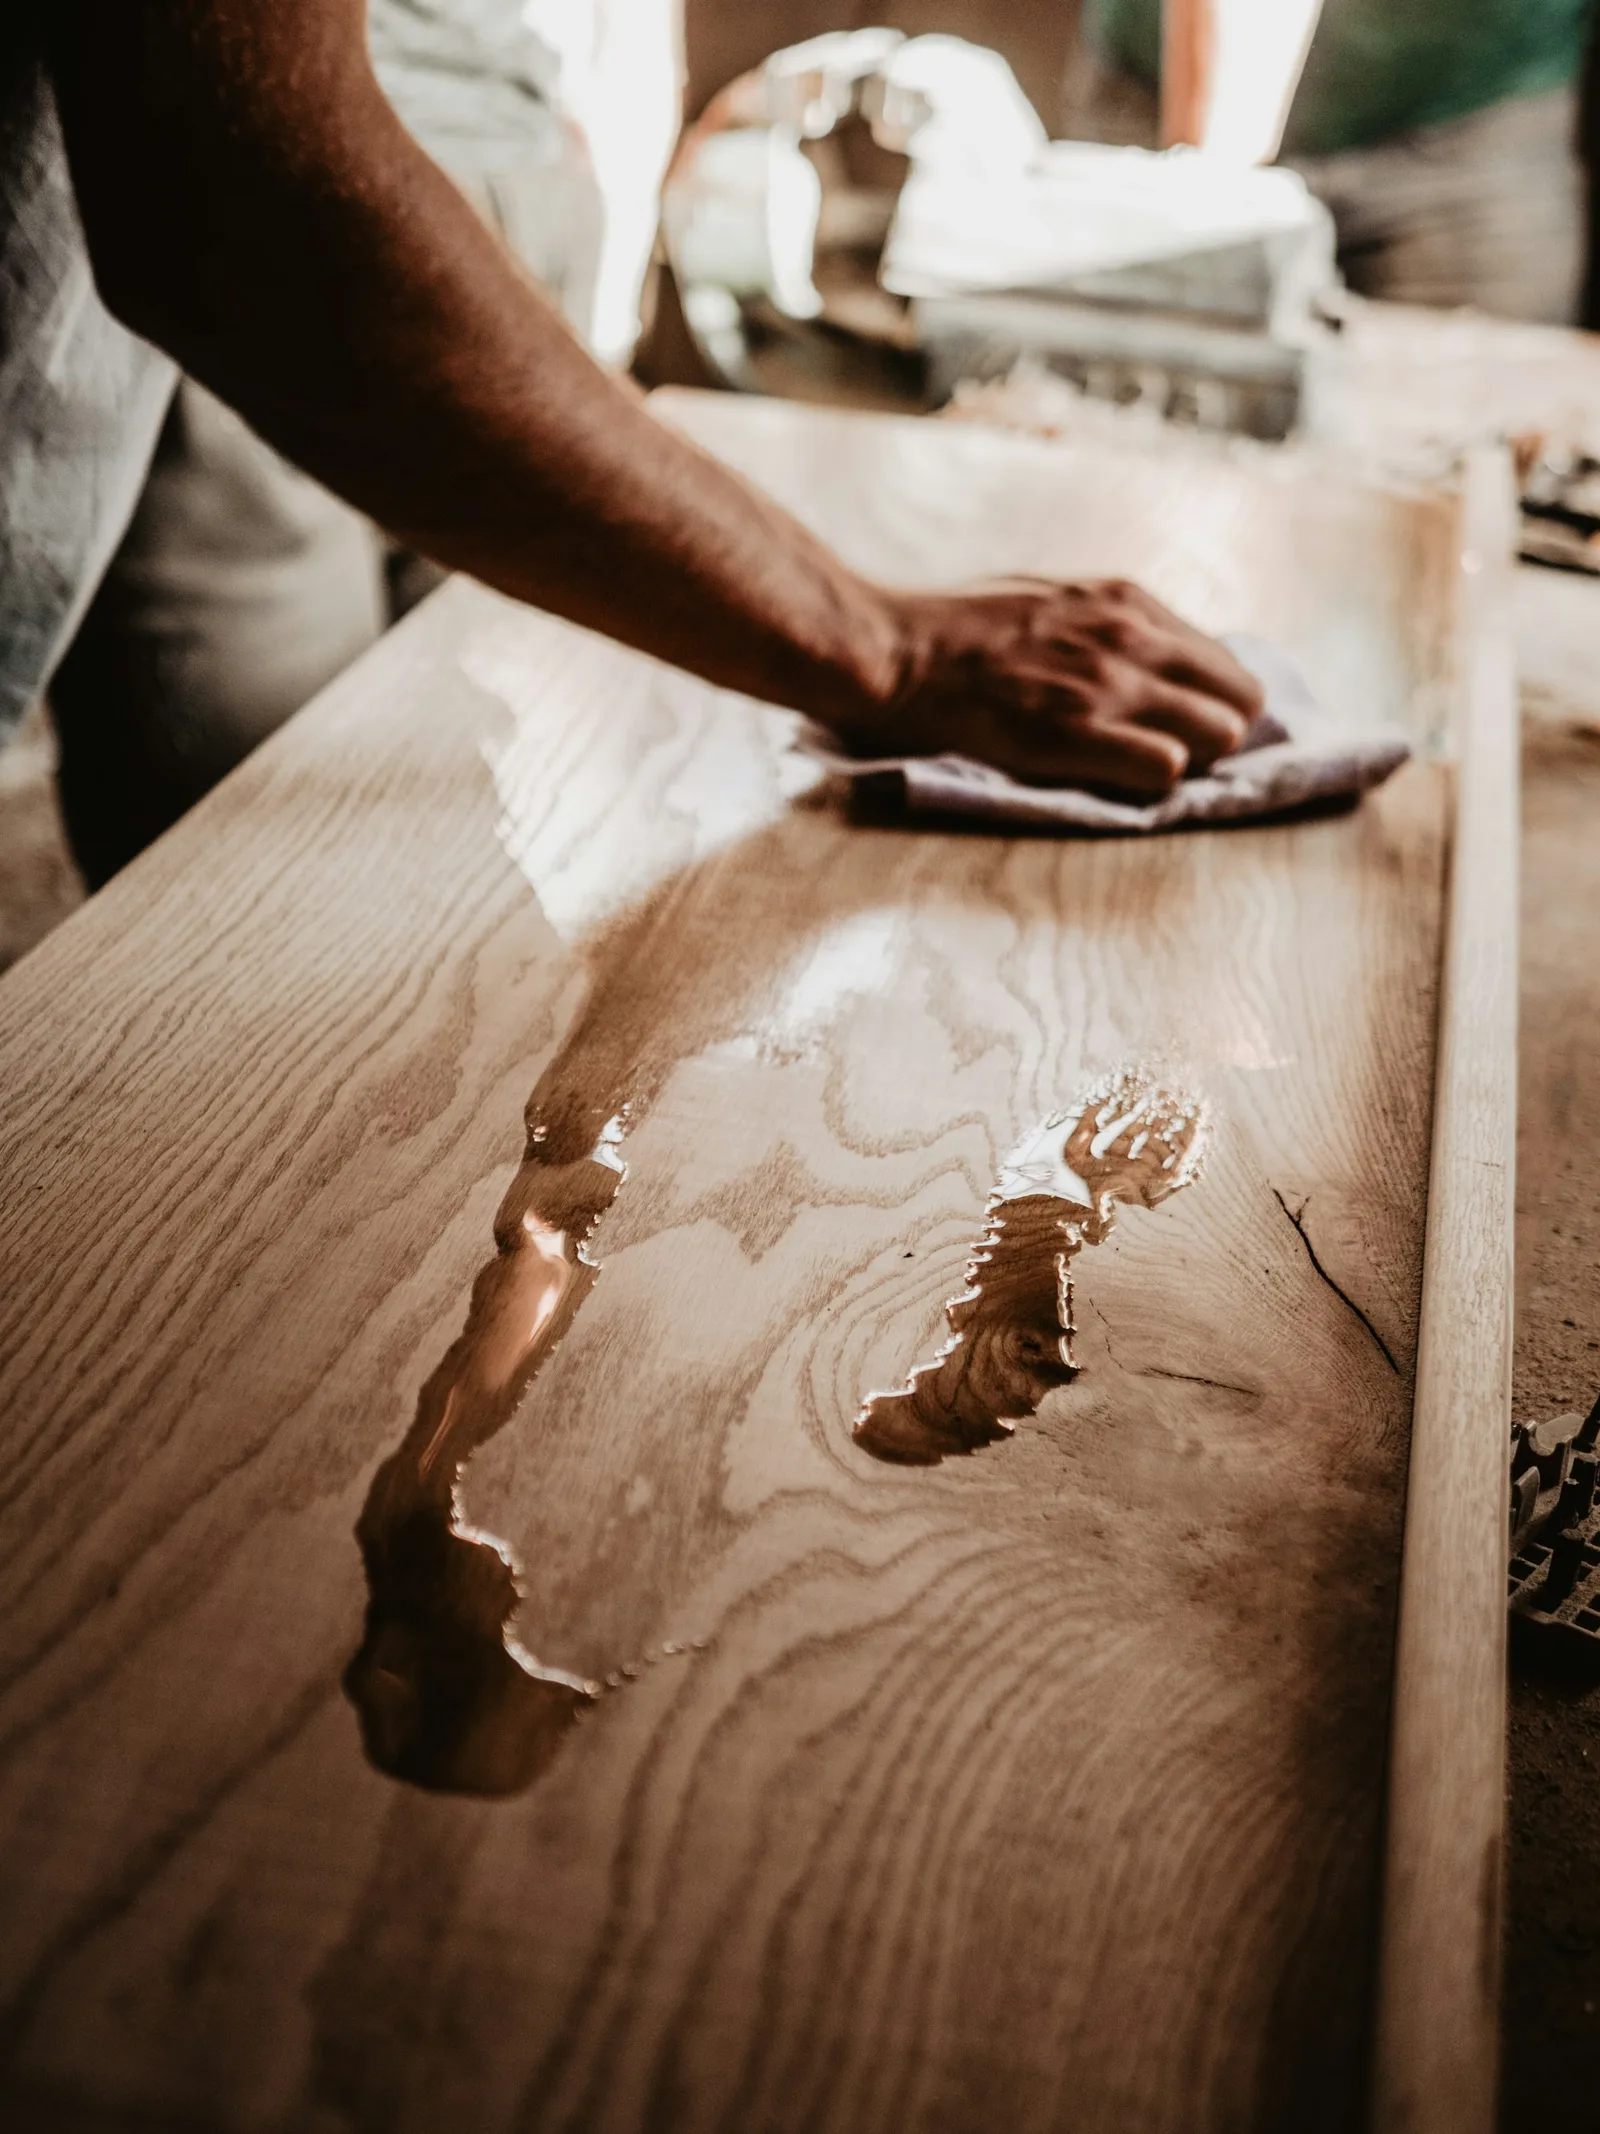
Cleaning is where a careful owner can safely start. The Institute's method for a sound natural resin finish is damp dusting: dampen a cotton swab in warm water, squeeze it until it is almost dry, and rub gently on a small, hidden area. Then wait several minutes to check that the surface does not blanch, turning white or cloudy. If it stays clear, the same light cleaning can continue across the piece, a small area at a time, drying as you go. If it clouds, stop.
Skip the spray polishes. The Institute warns that commercial polishes can cause compatibility problems with coatings a conservator may later need to apply. Where wax is appropriate, it recommends a paste wax free of colourants and perfumes, applied with a soft, lint-free cloth, and notes that a thorough waxing lasts for many years with only an occasional buff. Its basic care guidance suggests that microcrystalline wax, if used to raise the gloss, be applied no more than once a year.
Beyond cleaning, reviving a worn French polish is skilled work: a French polisher can often clean back, consolidate and build up the existing shellac rather than removing it. Ask for that approach by name. If the finish is crazed, sticky, flaking or badly bloomed, the Institute's advice is clear that degraded coatings belong with an experienced conservator.
Never sand or strip a period finish to fix a dull surface. Clean it first; most dull finishes are dirty, not dead.
Re-caning seats and backs, or choosing a fabric seat
Cane seats fail in predictable places: the front rail where legs rub, the centre where weight lands, and the edges where strands pass through the frame. A seat that has lost a few strands can often be repaired; one that has sagged and split across its width usually needs reweaving. Find out first how the seat was made. A hand-woven seat is threaded through a row of holes drilled around the frame. Pre-woven sheet cane is pressed into a groove and held with a spline. Converting a hand-caned chair to sheet cane means cutting a groove into the original frame, which cannot be reversed, so insist on hand caning for any chair that was made that way.
Cane suits Goa because it lets air through, and it should be left able to breathe: no varnish, no paint, no permanent padding stapled over the top. A loose cushion tied to the back legs gives comfort without hiding the cane, and it can be lifted and aired in the monsoon. Our cushions and soft furnishings are cut to the actual seat, including the slight asymmetry of handmade frames.
A fabric seat is sometimes the better answer. If the cane holes have broken out along a rail, or the chair is used hard every day, a drop-in seat, a padded board that sits within the seat frame and lifts out, can be made without new fixings into the antique. It protects the frame from further reweaving and can be removed later if the chair is ever recaned.
Reupholstering period settees and chairs
Every time an old chair is reupholstered with tacks, its frame takes another row of holes. Conservators at the Los Angeles County Museum of Art, writing in the newsletter of the Western Association for Art Conservation, describe irreparable damage to chair frames from repeated upholsteries as proof that traditional tack-heavy techniques are not suitable for conservation. Their low-interventive approach is to use stable, reversible materials, to minimise the number of fasteners, and to reuse existing nail holes wherever possible.
Not every Goan settee is a museum object, but the same habits protect any good frame. We photograph and record the old layers before removing them, and where they are original we keep samples. We work to the existing tack lines rather than adding new ones, avoid cutting rails to fit modern seat units, and choose breathable fillings and covers, because foam wrapped in plastic-backed fabric holds moisture against the timber through a Goan monsoon. Goa's mean morning humidity runs at 87–91% from June to September, according to the India Meteorological Department.
For covers, tightly woven linen, cotton and wool blends suit dark carved timber and tolerate humidity well; our reupholstery fabric guide compares them in detail. Keep the finished piece out of direct sun from a west window. The Canadian Conservation Institute is blunt that light damage to organic materials is cumulative and irreversible, and a new cover fades on one side just as the old one did. When the frame has been dealt with, our reupholstery service handles period chairs and settees.
When to stop, and what to ask a specialist
Stop and get advice if the piece has active insects, structural cracks, lifting veneer or inlay, a finish that is crazed, sticky or deeply bloomed, ivory, mother-of-pearl or painted decoration, or any history that makes it significant to your family or the house. Those are the cases where well-meant home work causes the most loss.
A good restorer or conservator will be happy to explain what they plan to do before they start. Ask the questions below, and be wary of anyone who proposes stripping, sanding or regluing everything as a matter of routine. Once the work is done, keep the piece off external walls and out of hard air-conditioning draughts; our guides to fungus on wooden furniture and heritage villa interiors cover living with old furniture in a humid house.
- Will you keep the existing finish, and how will you clean or revive it?
- Which glue will you use on joints and veneer, and can it be reversed later?
- Will you remove any earlier repairs, and why?
- What will you replace, and will new parts be distinguishable from old?
- Will you photograph the piece before, during and after the work?
- How will the piece be transported, and is it insured while with you?
A careful owner's sequence for an antique piece
For sound furniture with no active insects. Stop at any step that reveals more than you expected.
Record it
Photograph the piece from all sides, underneath and inside, in daylight. Note any history you know and every earlier repair you can see.
Check for insects
Clear away old powder from holes, place dark paper below and check over several weeks. Fresh pale powder means live borer: isolate the piece, wrap it and get advice before doing anything else.
Stop using what is loose
Set aside chairs with moving joints and keep any loose veneer, inlay or carving in labelled envelopes. Do not screw, nail or tape anything.
Dust, then test-clean
Dust with a soft cloth. On a hidden spot, wipe with a cotton swab barely damp with warm water and wait several minutes. If the finish stays clear, clean a small area at a time; if it clouds, stop.
Decide on the finish
If the cleaned surface looks sound, a thin paste wax free of colourants is enough, applied rarely. If it is crazed, sticky or bloomed, ask a French polisher or conservator to revive rather than strip it.
Deal with seats
Repair or reweave cane by the same method it was made with. Where cane is beyond saving or the chair takes heavy use, consider a loose cushion or a drop-in seat rather than fixed upholstery.
Place it well
Return the piece away from external walls, west sun and the direct airflow of an air conditioner, in a room that stays steady rather than swinging from damp to dry.