 Drape Haus
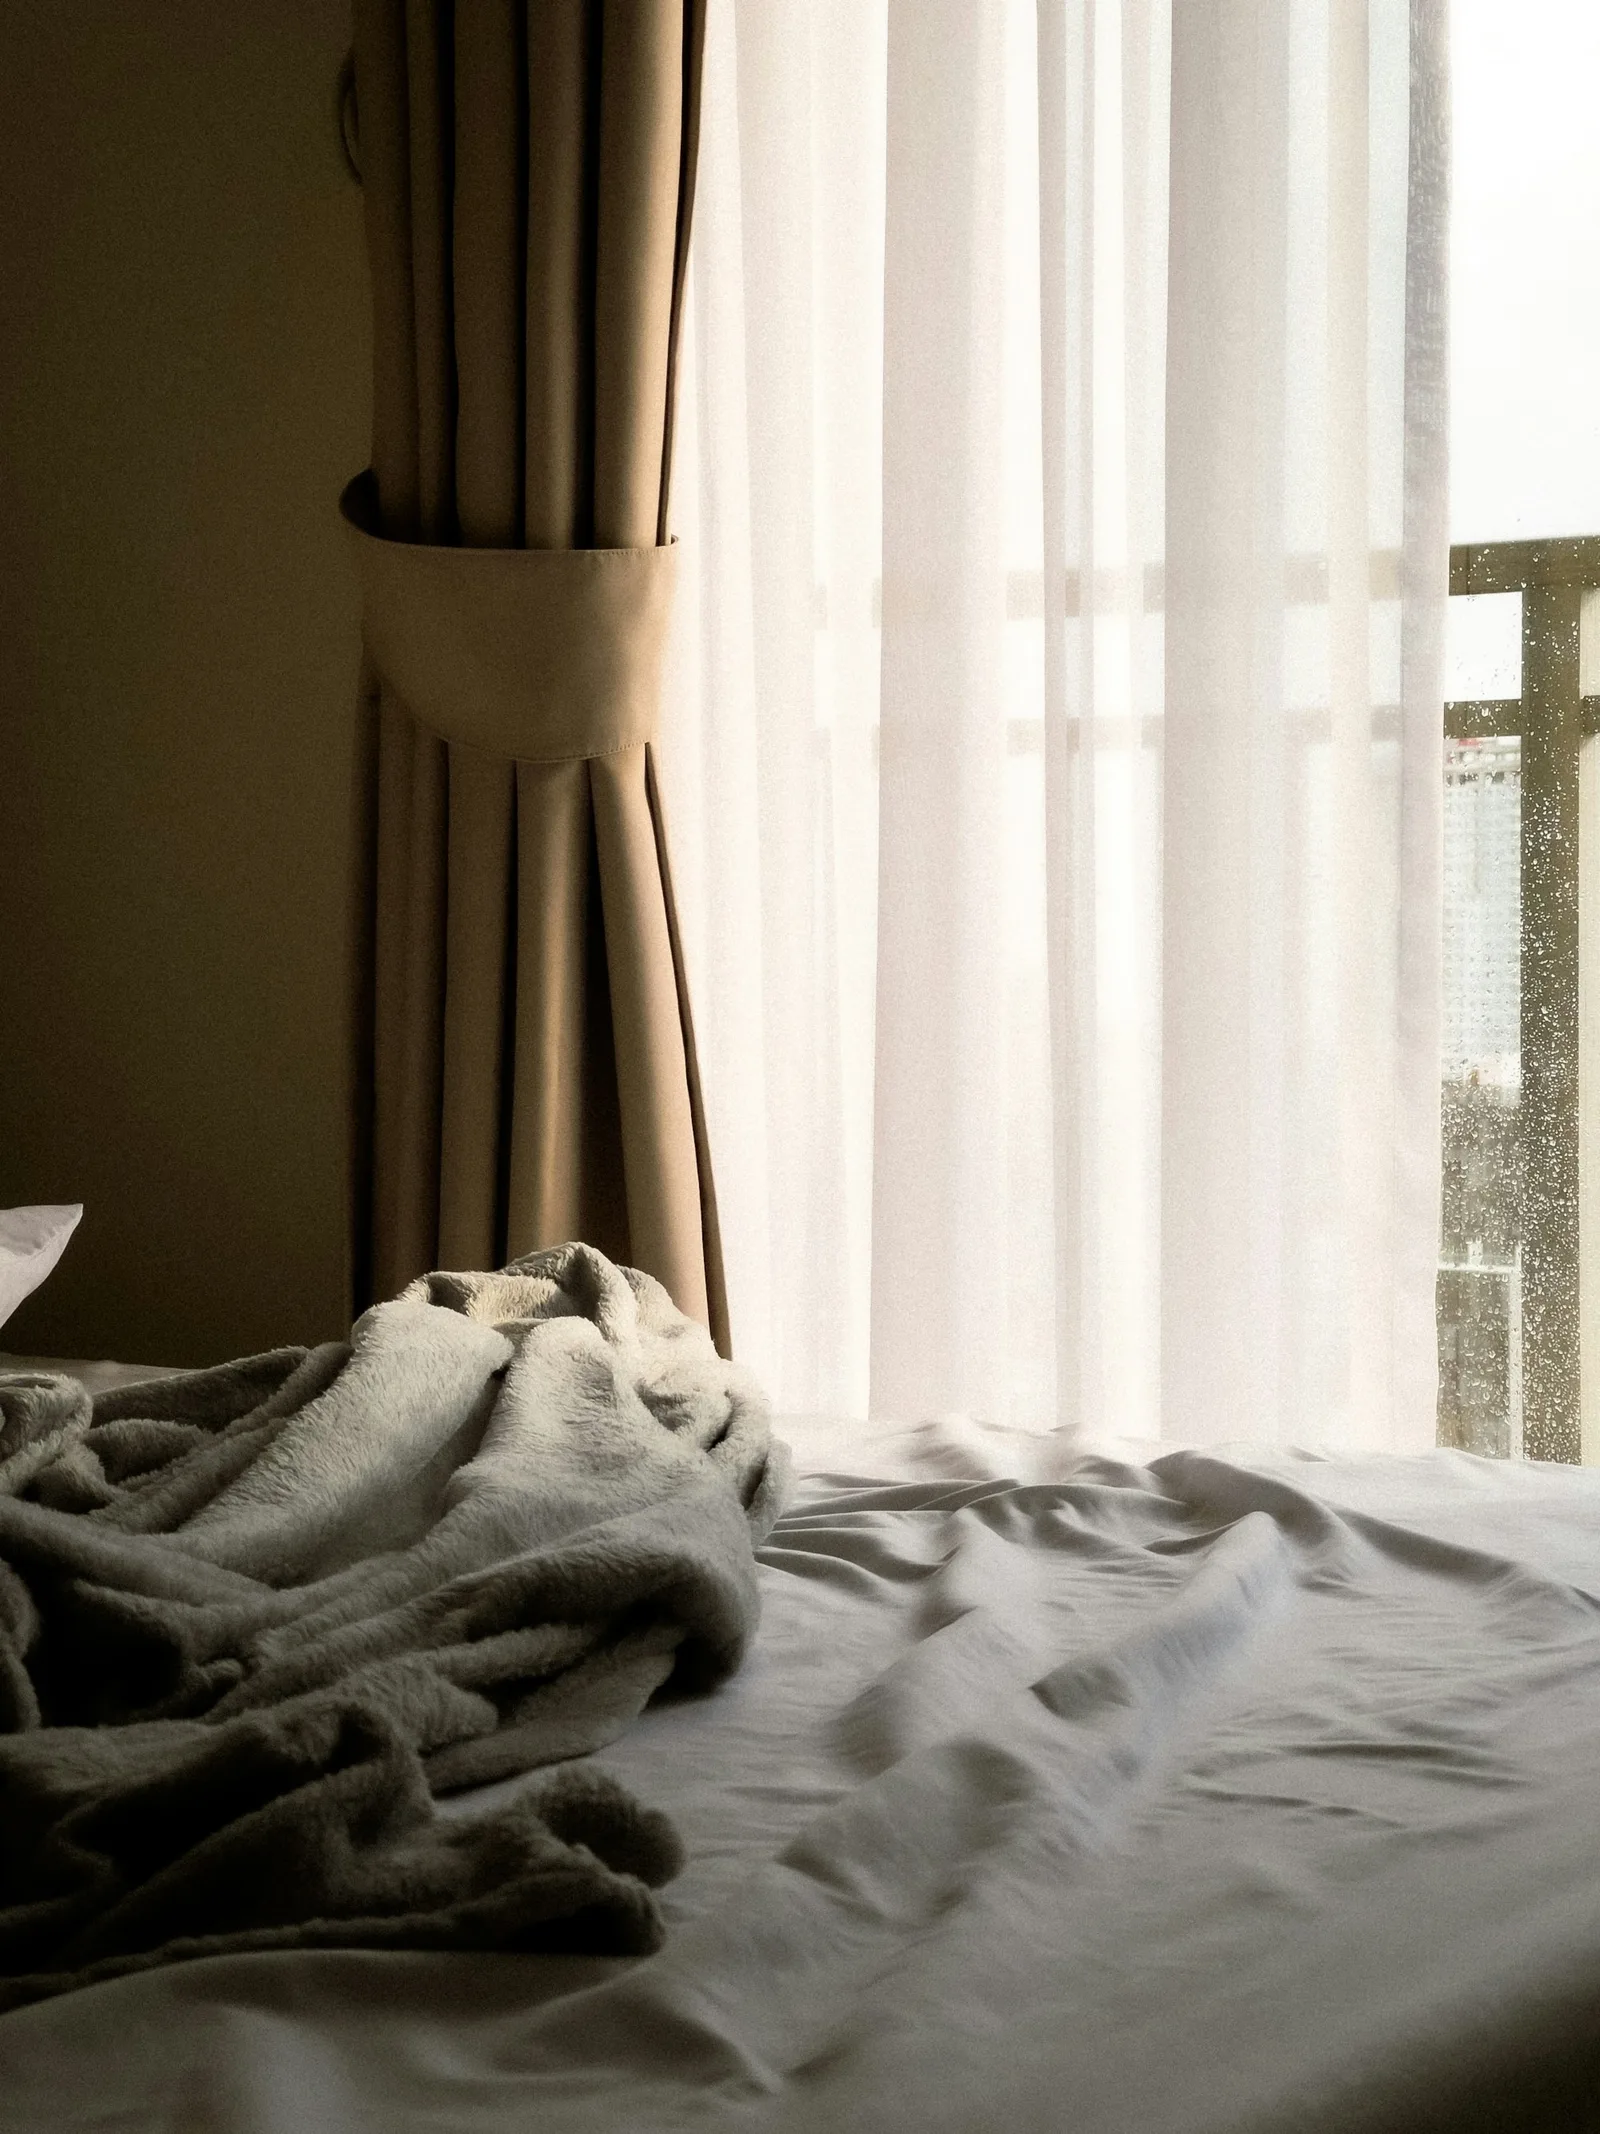
To hang sheer and blackout curtains together, fit a double track or double rod, hang the sheer on the channel nearest the glass and the blackout curtain on the room side, and run the track past the window on both sides by the width of the blackout curtain's stack. Fix the track to the ceiling, or as close to it as the wall allows, so light cannot spill over the top, and make the blackout layer return to the wall at the ends and overlap in the middle. Measure both layers from the same track.
That is the whole idea in one paragraph. The detail is in the decisions behind it: which layer goes in front, rods or tracks, how far the brackets must stand off the wall so the two layers do not rub, how much fabric each layer needs and how much wall its stack takes, whether to motorise one layer or both, and how to measure so both curtains finish at the right length.
This guide works through each, with a worked example for a typical 150 cm Goan bedroom window, and ends with the steps in order. Our layered curtains page shows the combinations we make, and you can try them on your own window in the layered curtains simulator.
Which layer goes in front, and why
The usual order is sheer behind, blackout in front. The sheer is the layer that stays drawn through the day, so it sits nearest the glass, where it filters the sun before it reaches anything else. The blackout curtain is open for most of the day and stacks at the sides, framing the sheer; at night it closes over it. From the room you see a soft, light window by day and a solid curtain by night, and the blackout's own lining faces the glass and takes the sun.
The reverse order, blackout behind and sheer in front, has a place too. With the blackout nearest the glass, it can sit tighter to the window and inside any returns, which helps darkness, and the room always sees the sheer: drawn over the closed blackout at night, the window still looks soft rather than solid. The cost is practical. The sheer in front gets handled every time someone reaches for the blackout, and in a room used by children or guests the front layer takes the knocks.
For most Goan bedrooms we fit the usual order, because it is easier to use. For a room where darkness is everything, such as a shift worker's bedroom or a nursery, the reverse order on a ceiling track, or a blackout roller blind in the window recess behind both curtains, is worth considering. Our guide to blackout curtains for a bedroom explains where light gets round any blackout layer.
| Sheer behind, blackout in front | Blackout behind, sheer in front | |
|---|---|---|
| By day | Sheer drawn, blackout stacked as a frame | Sheer drawn, blackout stacked behind it |
| At night | Solid curtain on view | Soft sheer on view over the blackout |
| Darkness | Good with ceiling track and returns | Slightly better; blackout sits tight to the window |
| Daily use | Easy: reach for the front layer | Reach through or round the sheer |
| Suits | Most bedrooms and living rooms | Rooms where darkness matters most |
Double rods, double tracks or a ceiling track for two layers
A double curtain rod for sheer and blackout is the familiar version: two poles on shared brackets, with rings or eyelets. It looks traditional and suits a room where the hardware is part of the design. For darkness it is the weakest option, because a curtain hangs below its rod and light spills over the top of both layers; even a good blackout curtain on a rod leaves a bright band on the ceiling at dawn.
A double track, with two channels in one slim profile, is the working choice for most bedrooms. It draws more smoothly, carries a heavy lined blackout curtain without sagging between brackets, and the headings sit in front of the track so it barely shows. Wall-fixed on brackets, it suits most retrofits. Ceiling-fixed, it puts the top of the blackout curtain against the ceiling, which is what the US Department of Energy recommends for draperies: hang them close to the window, put a cornice at the top or place the drapery against the ceiling, seal the sides and overlap in the centre.
On a false ceiling the track must fix into timber or metal backing above the board, not the board alone, and on an old timber ceiling into the joists. If neither ceiling nor wall above the window can take a fixing, a pelmet box carrying the tracks is the fallback. Our curtain tracks page covers profiles and gliders for each weight of curtain.
For a dark bedroom, choose a ceiling-fixed double track over a double rod. The rod lets light over the top of both layers.
Planning something like this?
We visit homes across North and South Goa, measure on site, and bring samples to see in your own light.
Bracket projection: the clearance that stops the layers rubbing
Two layers need two lines of clearance. The sheer has to hang clear of everything on the window: the handles and locks of an aluminium sliding window, the bolts on old timber shutters, a window grille, the sill and any air-conditioner pipe running past the frame. The blackout curtain then has to hang clear of the sheer's folds. If either is tight, the curtains rub, drag and wear at the leading edges, and the sheer catches on the handle every time it moves.
Measure it rather than guess. Hold a tape square to the wall and measure from the wall to the furthest thing that projects into the room; that sets the line of the back channel, plus the depth of the sheer's folds. The front channel sits forward of that by the depth of the blackout's folds. A lined pinch-pleat curtain makes deeper folds than a sheer on a wave heading, so it needs more room. A standard double bracket may be enough; on windows with deep handles or a grille, extended brackets or a ceiling track set further from the wall solve it.
Plan the returns at the same time. A return is the end of the curtain turned back to meet the wall, so light cannot escape down the sides. With two layers, the front blackout return has to wrap round the end of the sheer channel, so it is longer than on a single curtain. Ask for the track ends or brackets to allow it.
Motorising one layer or both, and planning the power point
Motorised double tracks carry a motor on each channel, so the two layers can move independently. The question is which layer you will actually move. The US Department of Energy reports that 75% of home window coverings stay in the same position every day; a motor is what turns a curtain that stays put into one that is used. In bedrooms, the blackout layer is the usual choice: it closes from bed at night and can open slowly a few minutes before the alarm. On a west-facing window, a motorised sheer set to draw itself at midday and open at sunset keeps the room shaded while the house is empty.
If both layers will be moved daily, motorise both; if the sheer stays drawn most of the time, motorise the blackout and leave the sheer on a hand-drawn channel. A motor also removes cords from the window, which matters in a child's room: the US Consumer Product Safety Commission's advice is that the safest option where young children are present is to go cordless.
Plan the power before the walls are finished. Each wired motor needs a socket or a fused connection close to the end of the track, usually at ceiling height, and the cable has to be chased into the wall or run inside a false ceiling. The Building America Solution Center recommends pre-wiring windows for motorised shading during construction. In Goa, think about power cuts too: most curtain motors allow a gentle hand-draw when the power is off. Our motorised curtain tracks page covers controls and options.
Measuring both layers, and getting the hems right
Both curtains are measured from the same track, so fix its position first: on the ceiling, or on the wall as high as the room allows. Then take the track length from the planner, or from the window width plus the stack on each side, and measure the drop for each layer from the track to the floor at several points across the window. Old Goan floors are rarely level, and a drop taken at one corner can be wrong at the other.
Finish both curtains just clear of the floor, about a centimetre, so they do not collect dust and damp in the monsoon. Many workrooms make the sheer a fraction shorter than the blackout, so it never shows below the front curtain's hem. If the face fabric of either layer is linen or cotton, remember that natural fibres can relax in very humid air; a linen-look polyester sheer behind a polyester-backed blackout holds its length more reliably through the rains.
Look after the pair through the monsoon. A blackout curtain left closed all day against a window running with condensation traps damp air against the glass and the lining. The US Environmental Protection Agency advises drying condensation on windows quickly when you see it. On dry spells, open both layers in the morning, let air reach the glass and the fabrics, and close the blackout again only at night. Our blackout curtains are made with linings that suit humid rooms.
How to layer sheer and blackout curtains on one window
For a pair of curtains on a double track. The same order applies to a double rod, without the ceiling option.
Decide the order of the layers
Sheer nearest the glass and blackout in front for everyday use, or the reverse for the darkest room. Decide before ordering, because it changes the bracket depth and the returns.
Choose the hardware and where it fixes
A ceiling-fixed double track for the darkest result, a wall-fixed double track for most retrofits, a double rod where the look matters more than darkness. Check the ceiling or wall can take the fixings, with backing in a false ceiling.
Measure the projection
Measure from the wall to the furthest handle, lock, grille or sill. Add the depth of the sheer's folds for the back channel, and the depth of the blackout's folds for the front channel. Choose brackets or a ceiling position that give that clearance.
Work out the track length
Use the track planner with the blackout layer's fabric and heading, since its stack is larger. Check there is enough plain wall beside the window for the stack on each side.
Plan power if you will motorise
Decide which layer gets a motor, and have a power point placed near the end of the track, at ceiling height, before painting or closing a false ceiling.
Measure the drops
Measure from the track to the floor at both ends and the middle. Ask for both layers to finish about a centimetre clear of the floor, with the sheer a fraction shorter than the blackout.
Fit, then check the light
After fitting, close the blackout at dawn with the lights off. Light at the sides means the returns need adjusting; light in the middle means the overlap does. Light at the top means the track needs to go higher or behind a pelmet.